
Class Sites>Photo Fun>
Adobe Photoshop Elements Tutorials
#4-Working with Layers
Skills: Using the color wand, copying objects, pasting objects, working with layers, resizing objects, working with multiple images.
Start
1. Open Adobe Photoshop Elements.
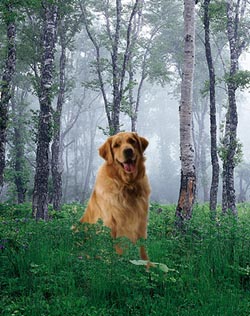
2. Open the picture of the Dog. ¨On the menu bar>File <click>, Open File<click>, browse and find the file you want to use, click Open.
3. You can save the above image to your hard drive, by right clicking on the image, and left clicking on "Save image as".
Save
4. Save the image to your F: folder. ¨On the menu bar> File
<click>, Save as >, Save in: My Pictures ,
File name: dog, Save as: JPEG [*.jpg, *.jpe], Save <click>
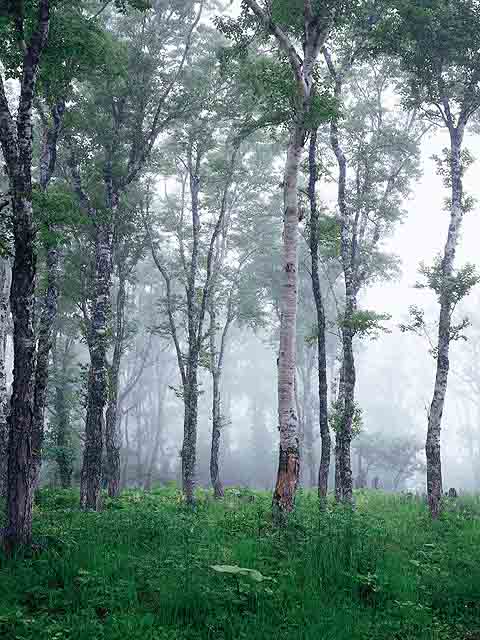
5. Open the picture of the forest. ¨On the menu bar>File <click> Open
<click>, look in: browse to the location of your file, Open <click> SAVE the image #4. File name: forest.jpg
Selecting/Copying the dog
5. Select the dog . ¨On the Tool Box, choose the magic wand tool. On the Options Tool Bar, set the tolerance to 15 pixels. Click on the white background behind the dog, on the Menu Bar, Select, Invert <click>.
6. Copy the dog. ¨On the Tool Box , Move Tool<click> click on the dog, hold the ALT key on the keyboard, drag the dog over to the picture of the forest.
Resizing and moving
7. Still using the Move Tool, click Resize and position the dog. ¨Make sure the dog is selected (it will have a box around it), put the cursor over one of the corners. It will appear as a two headed arrow, left click and drag the box diagonally to the appropriate size. To position the dog, left click and drag inside the box. SAVE the image to your F: folder , using the method in step #4, File name: dogforest1<your initials>.psd.
Improving the Image
11. Put some greenery in front of the dog. ¨
i. Make sure the forest(background) layer is selected, on the layer palette, Background <click>, on the Tool Box select the magic wand<click>, on the Options Bar choose the add tool <click>, set the tolerance to 30 click repeatedly on the greenery at the bottom to select.
ii. On the Menu Bar, Edit<click>, copy<click>.
iii. Select the dog layer, by clicking on the dog layer on the layer palette, on the Menu Bar, Edit<click>, paste<click> The greenery was added as a new layer.
iv. Position the greenery layer by left clicking and dragging .
12. Use the Erase tool to soften the edges around the dog. ¨
i. On the Tool Box>Eraser<click>,
ii. on the layer palette, click the eye next to the greenery layer to temporarily hide that layer.
iii. On the layer palette, click on the dog layer, to select it.
iv. Use the magnifying glass to zoom in on the dog,
v. Choose an eraser tool from the options bar.
vi. Erase the edges of the dog to get rid of the bright white edges.
vii. Save the image in your My Pictures folder using the procedure in #4. Name the image dogforest2<your inititals>.psd.
Cropping the image
13. Crop the photo. ¨On the Tool Box>crop tool <click>, select a
rectangle around the portion of the picture you wish to keep, put the cursor
inside the selected area, < double click>.
14. Save the image in your My Pictures folder, using the procedure in #4. Name the image dogforestfinal<yourinitials>.jpg

| My Portfolio | Choosing a Web Designer | Marketing Your Web Site | Pricing | Contact Me |
![]()
![]()